Are you curious about the proper process of registering a domain name with Namecheap? If you’re aiming to establish your online presence or showcase your work on the web, securing a domain name is the first step.
Namecheap stands out as a top-notch domain registrar renowned for its budget-friendly rates, coupled with dependable services, making it an excellent choice.
In this comprehensive guide, we will walk you through the quick and efficient steps to purchase your desired domain name from Namecheap within a mere 5 minutes!
Lets get started!
Overview of Namecheap
Namecheap stands as an exceptional company that presents a wide array of domain and hosting products, all offered at incredibly competitive prices within the market. Boasting an impressive management of 11 million domains, Namecheap proudly ranks among the leading domain registrars and web hosting providers on a global scale.
Setting itself apart from other domain registrars, Namecheap streamlines the process of registering your desired domain name with an extensive selection of domain extensions to choose from.
How To Register Your Domain Name With Namehcheap
Selecting the perfect domain extension is crucial when you have an ideal name in mind for your blog or website. Understanding the various domain extensions available is essential to avoid registering your name with an unsuitable extension.
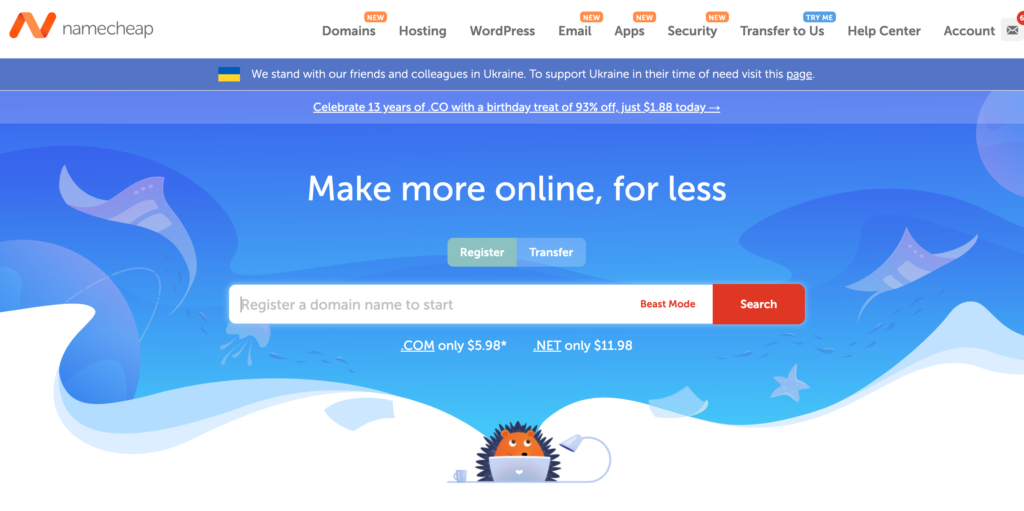
To swiftly register your domain name, you can visit the Namecheap website to verify domain availability. Once you enter your desired name, Namecheap will display the available extensions for that particular name.
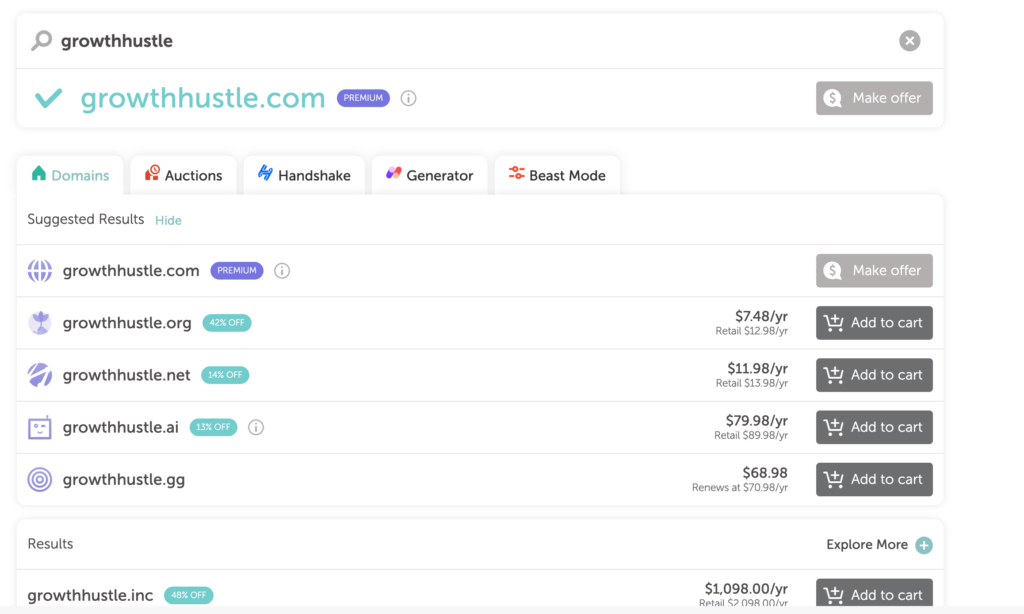
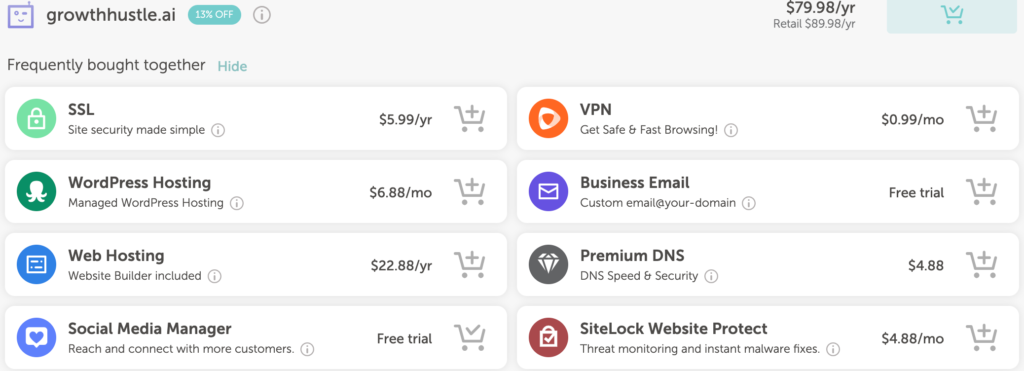
When you come across the perfect domain name, click “Add to cart” and proceed by clicking the orange “Checkout” button to initiate the registration process. If you wish to include an SSL certificate for your new domain, you can easily add it to your cart along with the domain name.
Upon reaching the checkout, you have the flexibility to make changes to your registration details. You can choose to pay for additional years in advance and even opt for the auto-renew option to ensure your domain is automatically renewed each year. Domain privacy is provided free of charge, so you can enable the auto-renew option without any worries.
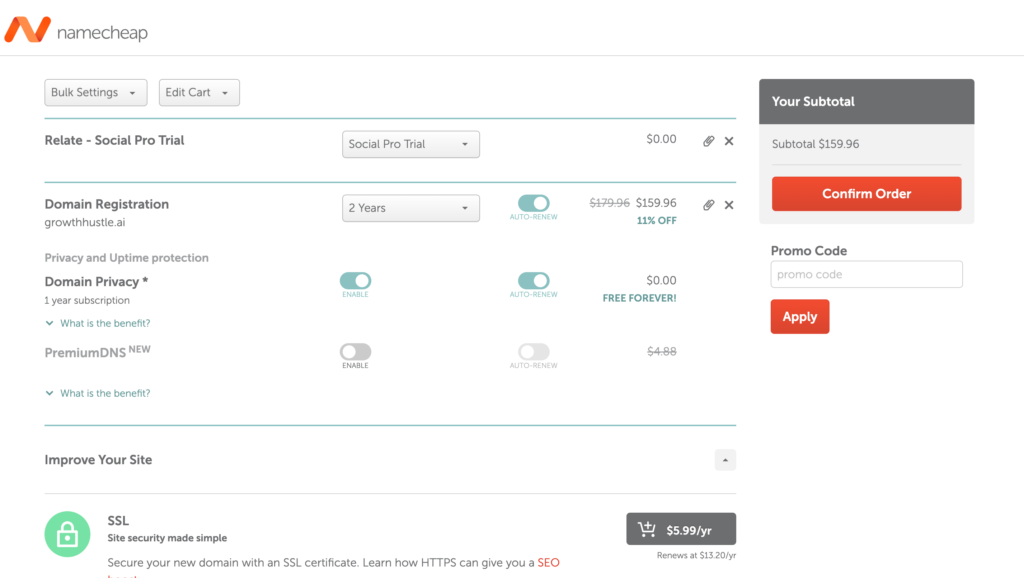
Namecheap regularly offers promotions and coupons, which can be found on their official website. If you have a valid promo code, apply it during checkout and click the “Confirm Order” button to proceed.
As you move forward, Namecheap will prompt you to create an account on their platform. You must provide accurate and valid details for the domain registration process. Though this step takes a few minutes, it is necessary and cannot be skipped.

Afterward, you will be directed to the payment processing area to complete your domain name purchase. Simply select your preferred payment method and click the “Pay Now” button.
Following a successful purchase, you will receive a purchase summary along with more details via email. From the purchase summary page, you can click “Manage” to access options related to DNS, Nameservers, Email forwarding, and more. Additionally, you have the option to utilize redirection settings to redirect your domain to another social media page or website.

Congratulations! You can now utilize your domain to create a website by purchasing hosting from Namecheap or follow their guides to point it to your blog or website builder.
However, we do recommend to go with the hosting here. Namecheap hosting gives you access to many capabilities such as running your website on WordPress. To get started with Namecheap’s Hosting we have provided you with a special 51% off discount for your first full year!
With Namecheap’s user-friendly interface and comprehensive services, the process of domain registration becomes a seamless and rewarding experience.
How To Redirect Your Domain Name
To effortlessly redirect your newly acquired domain to any other web property, such as a social media page, landing page, or Etsy shop, follow these simple steps within the domain management section at Namecheap.
How to Redirect Your Domain (Using Namecheap)
- Log in to your Namecheap account and access the “Domain List.” Locate the domain name you wish to redirect and click on “Manage” next to it.
- Scroll down until you reach the “Redirect Domain” section.
- Click on the designated field labeled “Destination URL” and input the desired destination where you want your domain to redirect visitors.
- Once you’ve entered the destination URL, click on the green checkmark icon to save your redirection settings. Should you wish to remove or modify the redirection in the future, you can do so easily.
And there you have it! By following these straightforward steps, you can seamlessly redirect your domain to any web property of your choice, ensuring a smooth online experience for your visitors. Namecheap’s user-friendly interface makes it a breeze to manage your domain and tailor it to your specific needs.\
How To Setup Email Forwarding
Utilizing the Email Forwarding feature offered by Namecheap allows you to create personalized email addresses for your domain and efficiently forward incoming emails to other email addresses associated with you. For instance, you can set up an address like admin@yourdomain.com and redirect all received emails to another email account, such as yourname@gmail.com.
Here’s a step-by-step guide on how to set up Email Forwarding for your domain with Namecheap:
- Scroll down until you reach the “Redirect Email” section.
- Choose an alias name (e.g., admin, contact, hello, etc.) to create a personalized email address for your domain.
- Under the “Forward to” option, specify the email address where you want to receive future emails. This should be an email address that you already own and wish to use for this forwarding setup.
- Click on the green checkmark icon to save your Email Forwarding settings. Remember, you can modify or delete this setup whenever needed.
Please note that it may take some time for the changes to take effect. Allow approximately an hour for the setup to be fully activated. Once it’s successfully implemented, you can test your mail service to ensure the Email Forwarding is functioning as intended.
By following these simple steps, you can efficiently manage your domain’s email addresses and easily forward them to other accounts, streamlining your communication process and ensuring a smooth flow of emails. Namecheap’s user-friendly interface makes it convenient to configure Email Forwarding and customize your domain to suit your preferences.
Wrap Up
Registering a domain name with Namecheap is a simple and straightforward process that empowers you to establish a strong online presence for your brand or project. With their user-friendly interface and excellent customer support, Namecheap proves to be a reliable domain registrar for beginners and experienced users alike.
So, if you’re ready to take the first step towards creating your online identity, click below to get started with a .com domain for just $5.98, and embark on an exciting journey of building your digital empire. Happy domain hunting!

How To Register a Domain Name With Namecheap